Creating Localhost PHP Web Development Platform

Written by Saran on
September 23, 2011,
Updated
December 21, 2013There are many web development packages available on the net, designed to run on different operating systems. Few of them are designed for PHP development such as
XAMPP,
Apache2Triad,
VertrigoServ. XAMPP is also available on Linux, Solaris and Mac OS X. But today we are going to focus on installing
Wampserver on windows.
1.
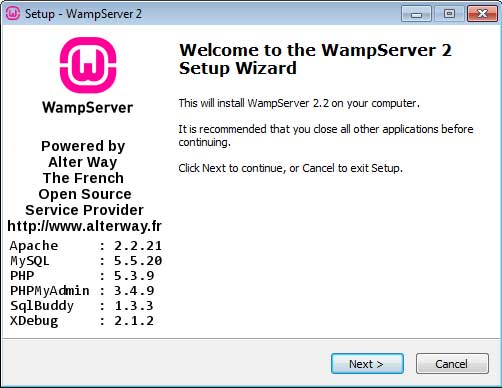
Download and install Wampserver like any other windows program.
2. After installation, Find and click Wampserver from start menu or desktop. We should now have an icon in our notification bar.
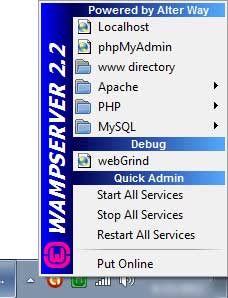
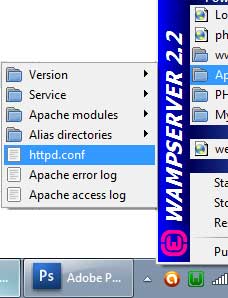
3. Icon shows that Wampserver is correctly installed on our computer. Now we need to create a folder where we are going to test our php codes. By default Wampserver web directory is "
c:wampwww", but if you want to change it some familiar and easily accessible folder such as "
D:websites", all we need to do is edit
httpd.conf file. Click on "
Wampserver menu" -> "
Apache" and open
httpd.conf file, it should open in notepad.
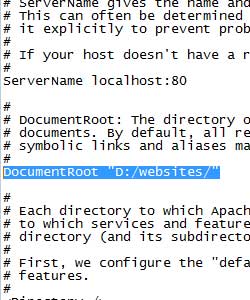
4. Now find DocumentRoot text and change it's location to any other folder and save this file. As you can see I have changed path to "D:websites", this is where I'll put all my php files.
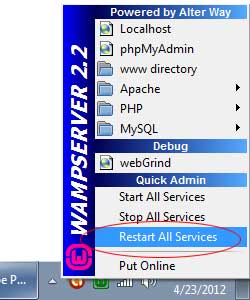
5. Now let's restart Wamp, by clicking "Restart All Services".
6. Now it's time to test our first php code. Open your notepad or any other editing program, and in empty document write your first php code, or copy paste my following code and save it as index.php in "D:websites" folder.[cc lang="php"] [/cc]7. Open your browser, type http://localhost/ on the address bar, voila!

 2. After installation, Find and click Wampserver from start menu or desktop. We should now have an icon in our notification bar.
 3. Icon shows that Wampserver is correctly installed on our computer. Now we need to create a folder where we are going to test our php codes. By default Wampserver web directory is "c:wampwww", but if you want to change it some familiar and easily accessible folder such as "D:websites", all we need to do is edit httpd.conf file. Click on "Wampserver menu" -> "Apache" and open httpd.conf file, it should open in notepad.
 4. Now find DocumentRoot text and change it's location to any other folder and save this file. As you can see I have changed path to "D:websites", this is where I'll put all my php files.
 5. Now let's restart Wamp, by clicking "Restart All Services".
 6. Now it's time to test our first php code. Open your notepad or any other editing program, and in empty document write your first php code, or copy paste my following code and save it as index.php in "D:websites" folder.[cc lang="php"] [/cc]7. Open your browser, type http://localhost/ on the address bar, voila!
