Customizing Facebook Auth Dialog

Written by Saran on
November 20, 2011,
Updated
December 21, 2013New Facebook AuthDialog comes loaded with features to help you build a richer and more exciting experience for new users. And it's very easy to customize, just follow guidelines provided in this page and you are all good to go.
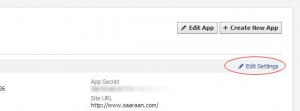
- Login to Facebook and go to your app settings page. Click your existing application on sidebar and click edit settings.

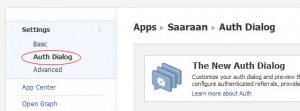
- In next page, click Auth Dialog link on the sidebar of the page.

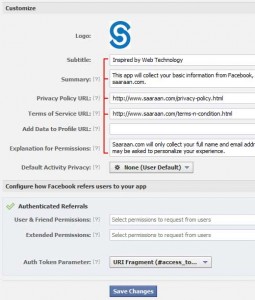
- Once you are in AuthDialog page, enter all important information. Summary, privacy policy url, terms of service logo image etc, and save your settings.

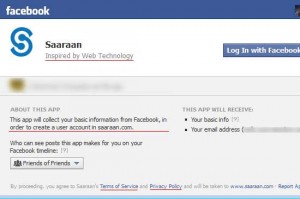
- Result : Information you have provided in settings should now start to appear in Facebook Authentication Dialog Box.


